GatsbyJS + Firebase Auth set up for a blazing fast site in 1 hour (part 2)
Step 5: Initialize Firebase instance from lazy loaded Firebase module
Alright, continuing from part 1 where I got a firebase library importable via a react hook, now we have to use this to get the user to login.
The first thing we have to do is initialize an instance of firebase with your API keys. Now naively doing this also runs into a few issues because firebase could only be initialized once. So I'll proceed with the following:
- Implement a method that returns an instance of firebase. This has to be a singleton to avoid double initialization errors.
- Make sure this only runs in the browser - serverside rendering isn't supported for firebase. This is done via supplying the firebase module.
- (optional) Get the firebase config from environment variables so you don't hard code these values into version control.
// getFirebaseInstance.js

// Config from firebase console
const config = {
  apiKey: process.env.GATSBY_FIREBASE_API_KEY,
  authDomain: process.env.GATSBY_FIREBASE_AUTH_DOMAIN,
  databaseURL: process.env.GATSBY_FIREBASE_DATABASE_URL,
  projectId: process.env.GATSBY_FIREBASE_PROJECT_ID,
  storageBucket: process.env.GATSBY_FIREBASE_STORAGE_BUCKET,
  messagingSenderId: process.env.GATSBY_FIREBASE_MESSAGING_SENDER_ID,
  appId: process.env.GATSBY_FIREBASE_APP_ID,
  measurementId: process.env.GATSBY_FIREBASE_MEASUREMEND_ID,
}

let firebaseInstance = null

function getFirebaseIntance(firebase) {
  if (firebaseInstance) {
    return firebaseInstance
  }

  firebaseInstance = firebase.initializeApp(config)
  return firebaseInstance
}

export default getFirebaseIntance
An alternative was I was also able to get around this simply by using the gatsby-plugin-firebase plugin that under the hood does the same thing by importing the firebase library dynamically on the browser (but I opted for rolling my own as it was simple enough and portable beyond gatsby).
Step 6: Add the login page UI
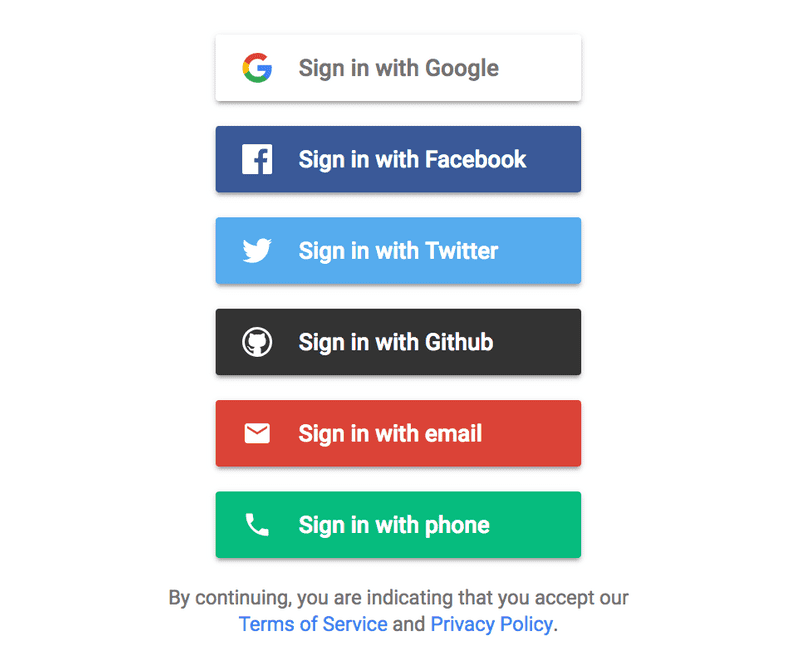
Alright now we're at the cool part where we could very simply drop in a login page that could configure google, facebook, github, email, and other types of login providers that firebase auth supports. For this, For this I'll be using firebaseui, a UI library provided from firebase to make this process easy.
Install the react bindings:
npm install react-firebaseui
- I'll be using the
useFirebaseandgetFirebaseInstanceI implemented in Step 4, 5 to initialize the firebase UI config and pass it intoStyledFirebaseAuthwhich will give you a standard login UI.
import React, { useEffect, useState } from "react"
import StyledFirebaseAuth from "react-firebaseui/StyledFirebaseAuth"
import getFirebaseInstance from "../lib/getFirebaseInstance"
import useFirebase from "../lib//useFirebase"

function SignInScreen() {
  const [uiConfig, setUIConfig] = useState()
  const firebase = useFirebase()

  useEffect(() => {
    // we only have firebase in the browser
    if (firebase == null) {
      return
    }

    setUIConfig({
      // Popup signin flow rather than redirect flow.
      signInFlow: "popup",
      // We will display Google and Facebook as auth providers.
      signInOptions: [
        firebase.auth.GoogleAuthProvider.PROVIDER_ID,
        firebase.auth.FacebookAuthProvider.PROVIDER_ID,
      ],
      callbacks: {
        // Avoid redirects after sign-in.
        signInSuccessWithAuthResult: () => false,
      },
    })
  }, [firebase])

  if (uiConfig == null || firebase == null) {
    return null
  }
  const firebaseInstance = getFirebaseInstance(firebase)
  return (
    <StyledFirebaseAuth
      uiConfig={uiConfig}
      firebaseAuth={firebaseInstance.auth()}
    />
  )
}

export default SignInScreen
Step 7: Linking it all up and getting the logged in user
For demo purposes I'll just replace the contents of index.js with this log-in page and add a hook to fetch the logged in user on state change:
// useAuthUser.js

import { useEffect, useState } from "react"

import getFirebaseInstance from "./getFirebaseInstance"
import useFirebase from "./useFirebase"

function useAuthUser() {
  const [user, setUser] = useState()

  const firebase = useFirebase()

  useEffect(() => {
    if (firebase == null) {
      return
    }
    const firebaseInstance = getFirebaseInstance(firebase)
    const authStateListener = firebaseInstance.auth().onAuthStateChanged(
      user => setUser(user),
      error => console.log(error)
    )

    return authStateListener
  }, [firebase])

  return user
}

export default useAuthUser
Now the main page putting everything together:
// index.js

import React from "react"

import Layout from "../components/layout"
import SEO from "../components/seo"

import SignInScreen from "../components/SignInScreen"
import useAuthUser from "../lib/useAuthUser"

//<SignInScreen />
const IndexPage = () => (
  <Layout>
    <SEO title="Home" />
    <div>{useAuthUser()?.displayName}</div>
    <SignInScreen />
  </Layout>
)
Step 8: Enable Google and other 3rd party login
You need to go to your firebase console and actually enable auth now. It should be under Authentication -> Sign in Method. Here you'll need to set your redirect URI to be allowed as well.
Then you should be able to run gatsby develop and actually go through the login flow :)
Step 9: Change the dummy firebase URI to a custom domain
Now if you enabled google login for example, you'll see that the OAuth login screen has a less than ideal UI with a generated firebase domain. In order to change this you'll need to add your custom domain to firebase, which involves a process of proving that you own the domain by configuring the DNS settings.
Once you have the custom domain linked to your firebase hosting account, you should be able to configure your auth redirect URI by setting it in your config:
// getFirebaseInstance.js

const config = {
  apiKey: process.env.GATSBY_FIREBASE_API_KEY,
  // Update this to be your new domain:
  authDomain: process.env.GATSBY_FIREBASE_AUTH_DOMAIN,
  // ... other settings
}
Now you should be able to see your new domain show up when you trigger the OAuth dialog.
Conclusion
Up to here I've went over setting up a basic login page that I'll be building on further. I always have the most trouble setting these things up so hopefully it was of help to someone else :)
